Electronics")
How to Export Gerber from Eagle 9 .brd File
After updating Eagle to new version(later than Verison 8), you may find the gerber file you generated under the guidance of our previous tutorial doesn't work, here is the new tutorial of how to export on new version Eagle. There is a little difference between the UI of version 8 and version 9, here we use version 9.1.3 for a demo.
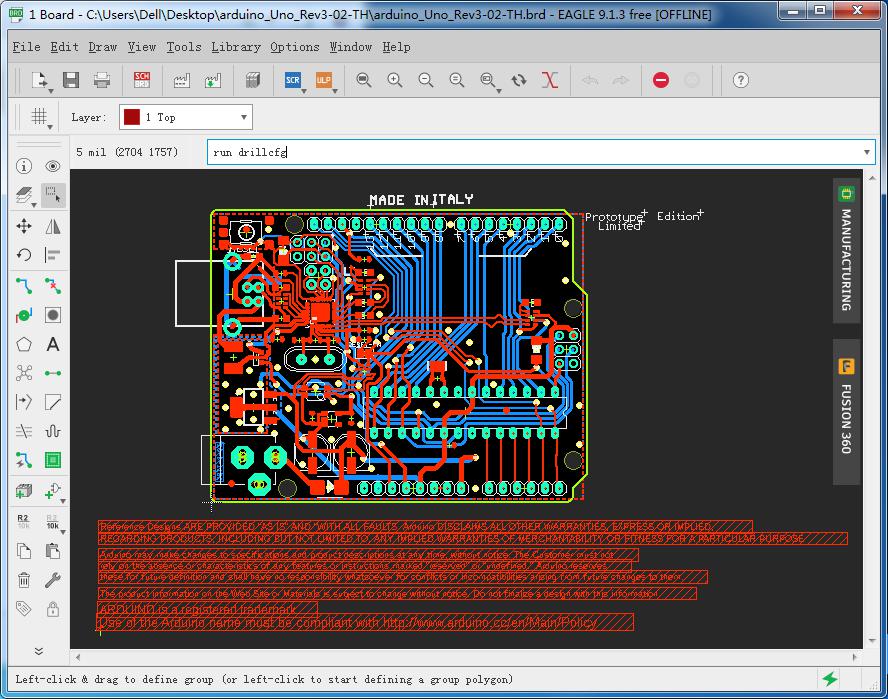
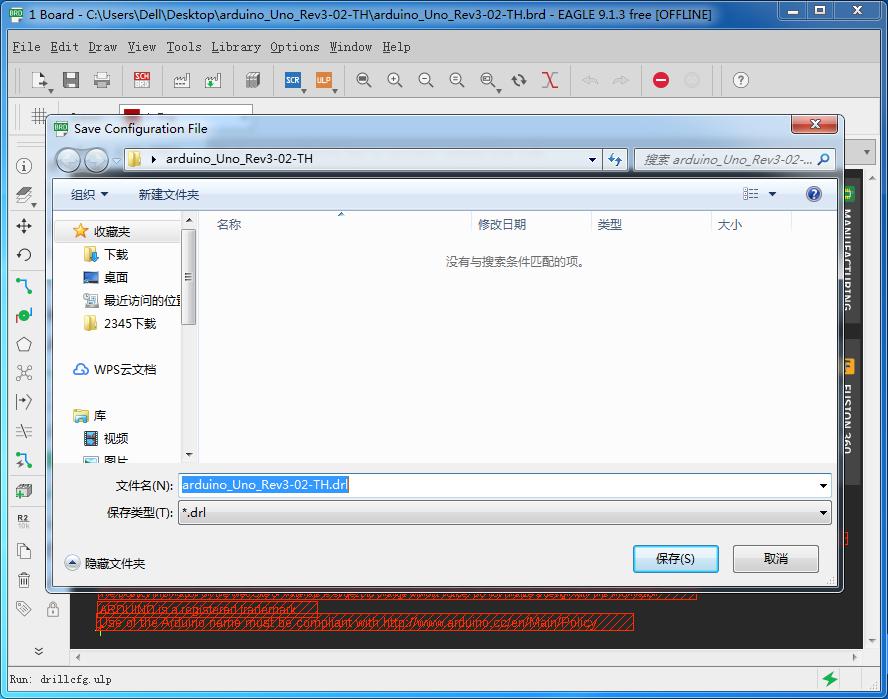
1.Open your .brd file, run ulp “drillcfg”.
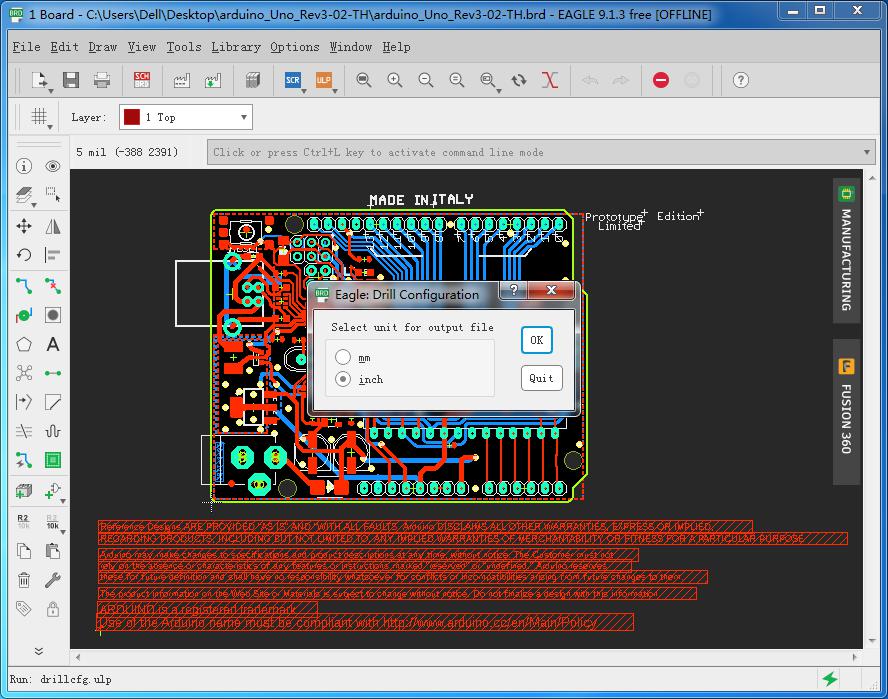
2.Select inch as your output file’s unit and click OK.
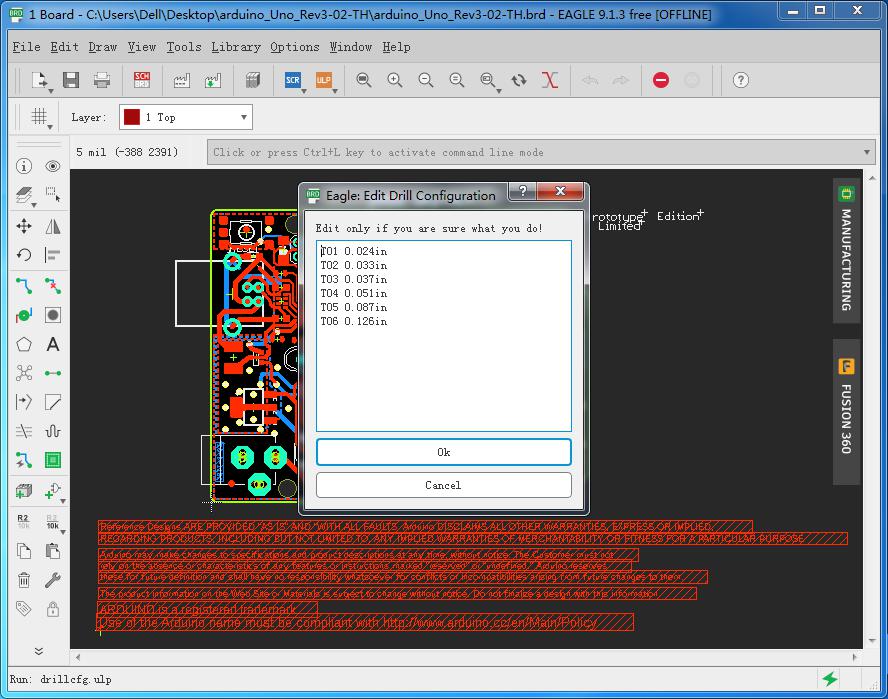
3.Click OK to save the .drl file. Usually, we save it to the same directory as your .brd file.
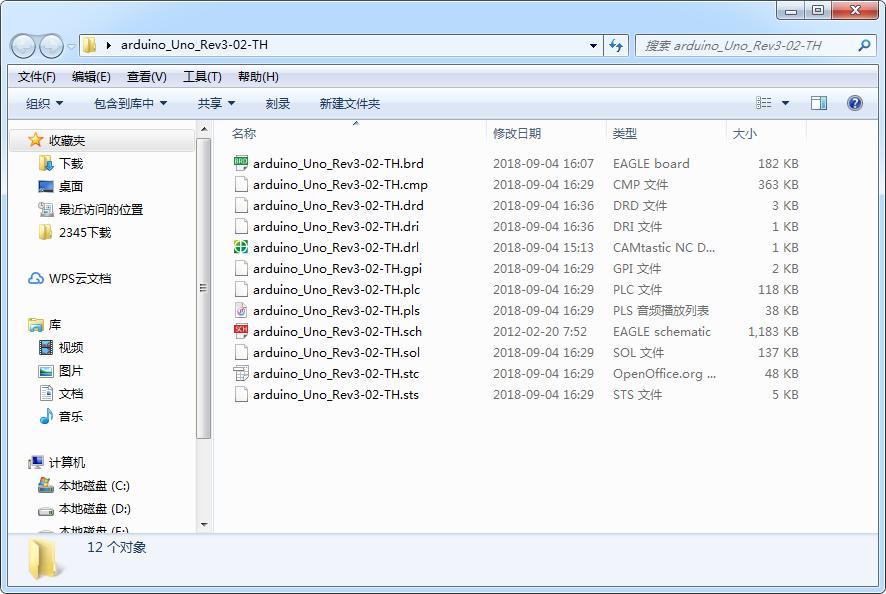
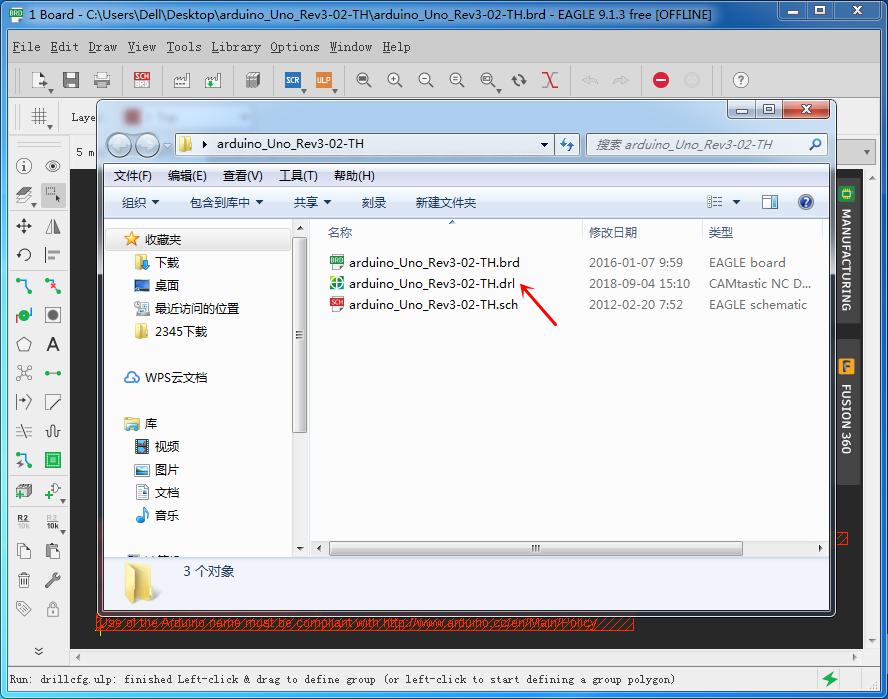
4.You will find a new .drl file in the directory.
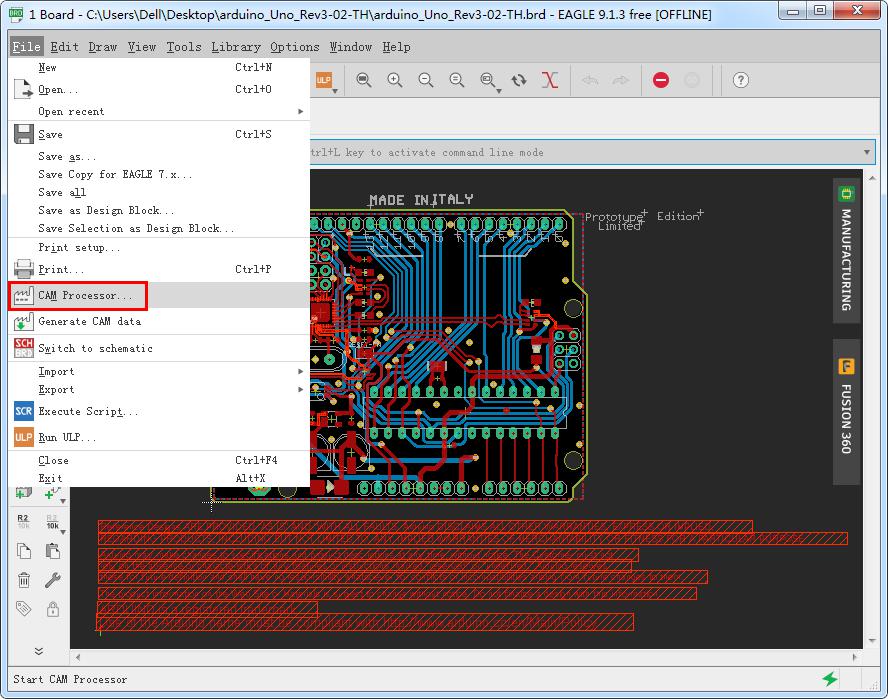
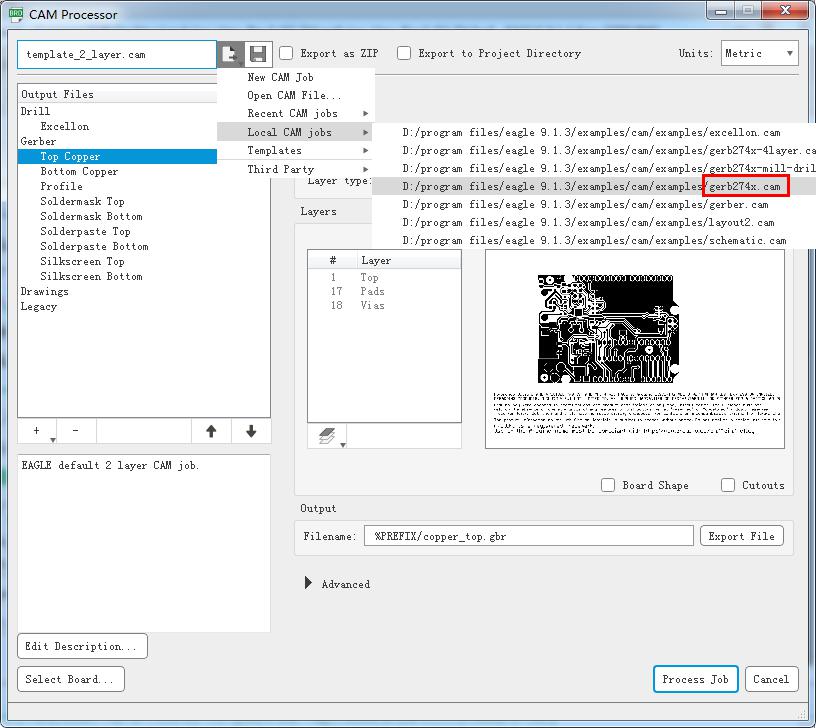
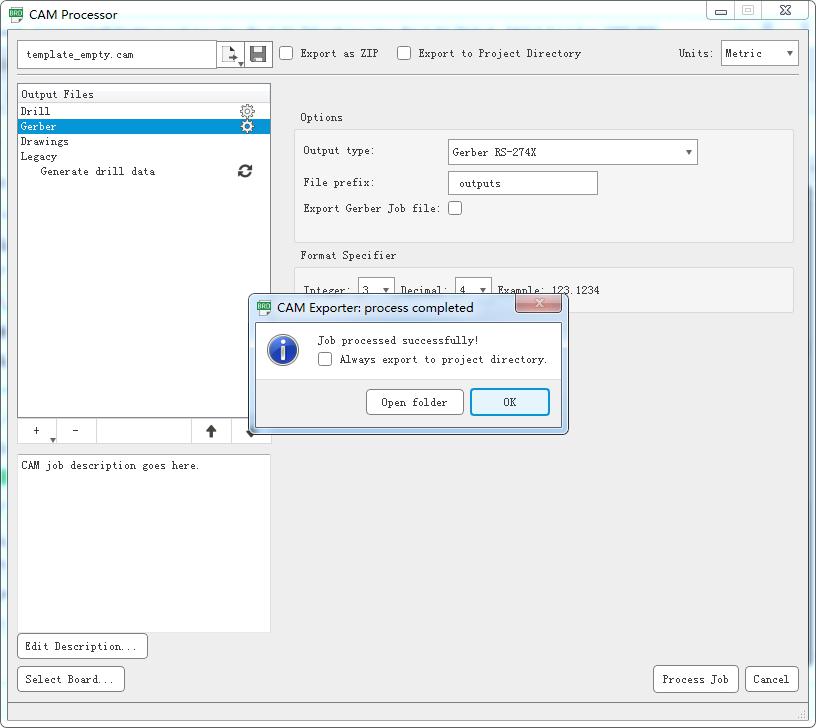
5.Click File > CAM Processor > Load job file > Local CAM jobs, here we need to change CAM processor to gerb274x.cam, don’t use default option - template_2_layer.cam (If your design is 4 layer board, just choose gerb274X-4layer.cam).
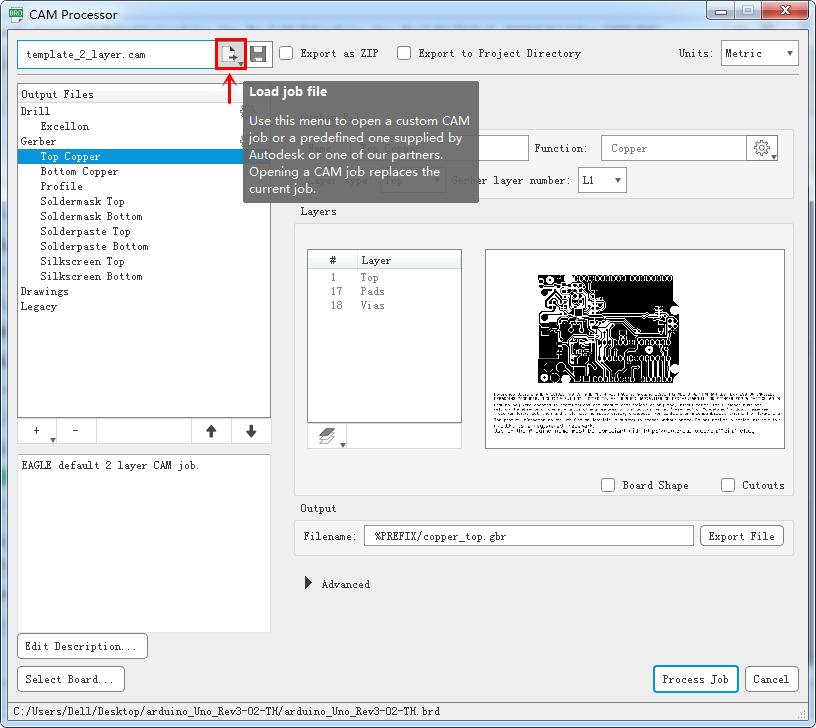
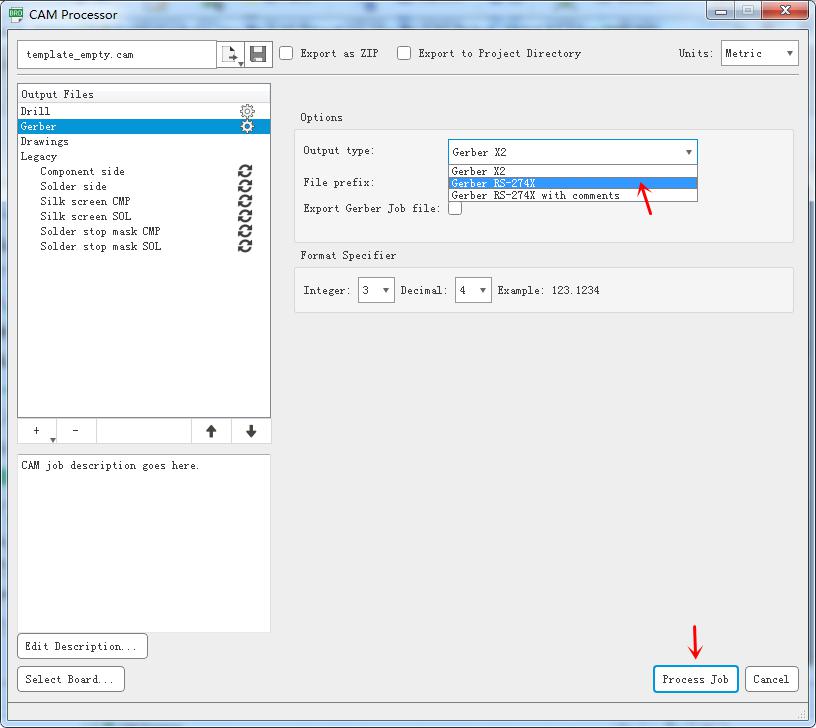
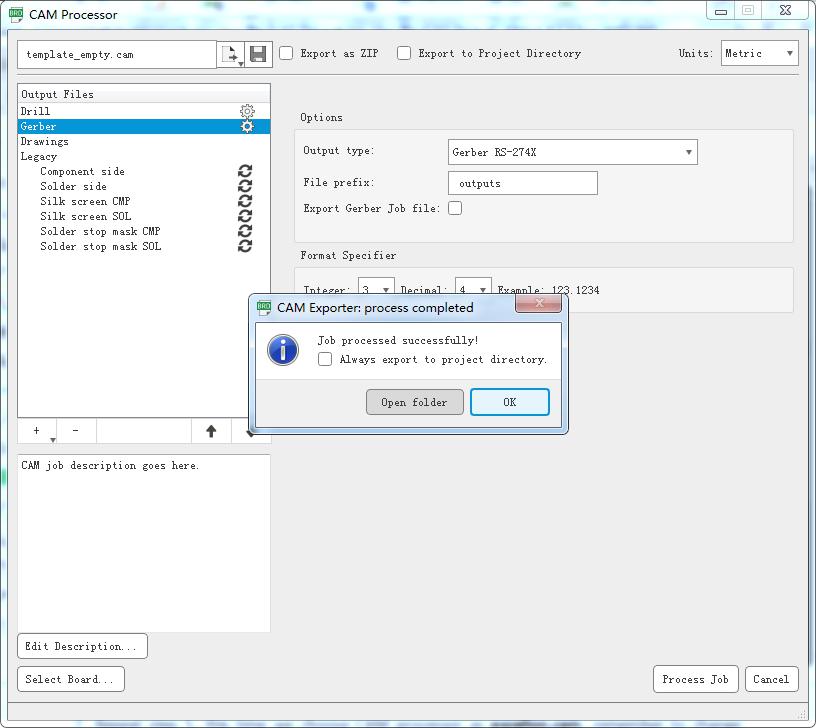
6.Change output type to Gerber RS-274X then click Process Job, save output files to your directory.
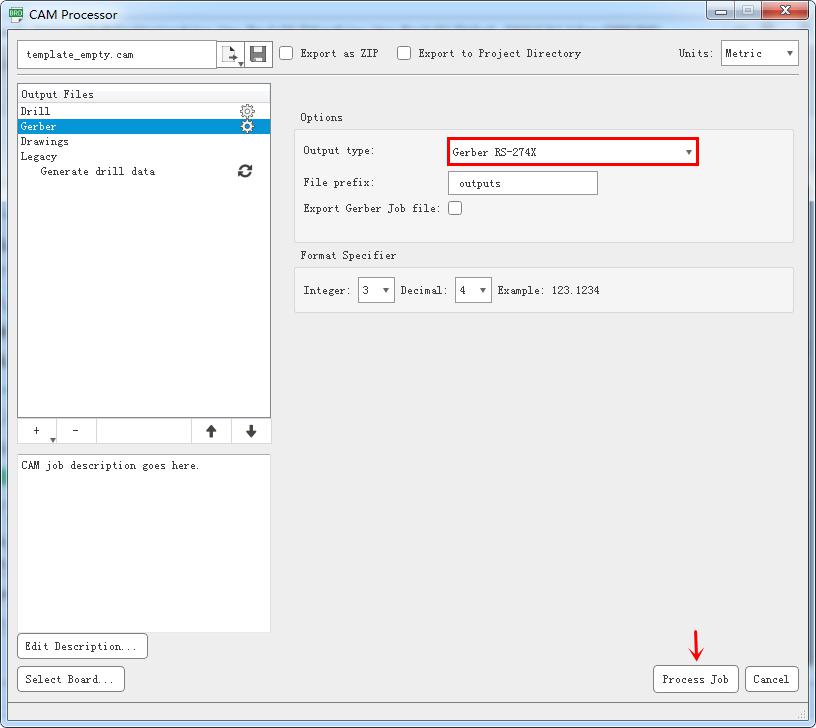
7.Repeat step 5, this time we choose CAM processor as excellon.cam, remember to change output type to Gerber RS-274X, then click Process Job to save files.

8.Now go to your directory, you can check the created files and combine all these files into a single zip file, then send them to our email: PCB@tinyosshop.com.