How to disable the Bluetooth amplifier multiple connection
Tinysine Bluetooth audio amplifier boards can be connected by 2 smartphones at one time. The Bluetooth module will output the first connected smartphone music. Once smartphone A music paused. It will auto switching to smartphone B's output. It's a great feature for many user. But there also have some customer no need this function. Here is the procedure of how to change this settings to let it can only be connected by one smartphone at one time.
Hardware and Software required:
Bluetooth configuation file programming:
- Download Bluesuite2.5.0 and install it
Step1:
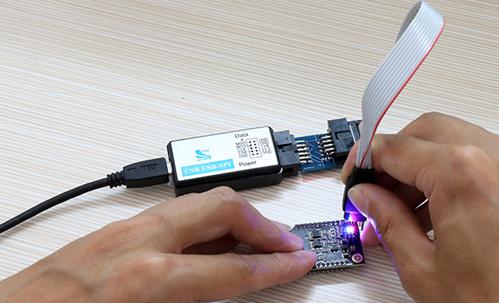
Connect the CSR USB-SPI programmer and Tag-Connect line with a AudioB Plus convert board, then connect CSR USB-SPI to your computer by a mini USB cable and windows will auto detect it and install the drivers.
Step2:
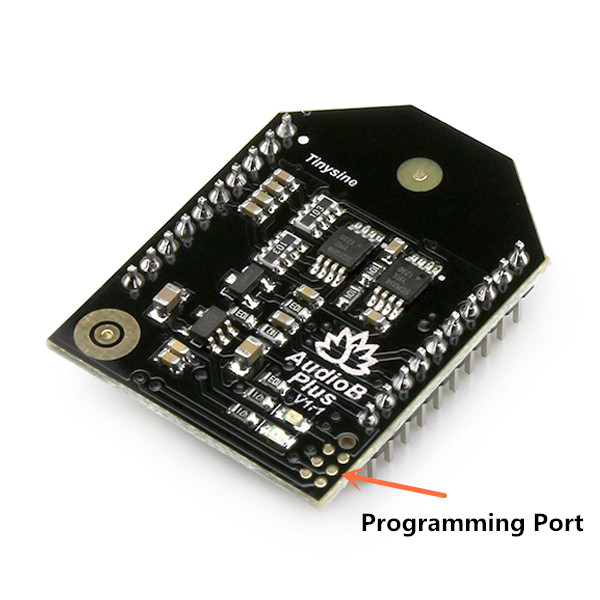
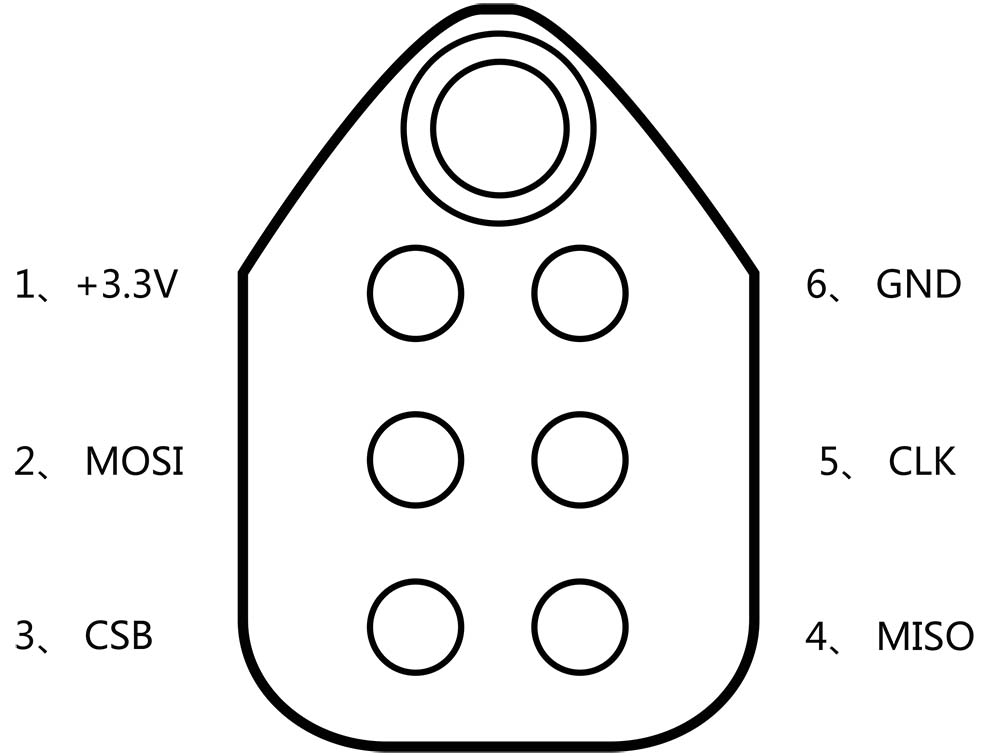
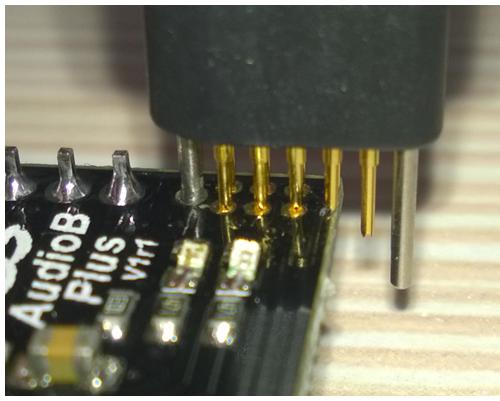
Connect TC2050-IDC-NL’s connector to AudioB plus programming port. You need to locate the single steel alignment pin of the connector into the single hole of the PCB footprint, then press down softly to engage the spring-pin contacts. Make sure the first 6 pins have a good contact with the corresponding pads. Then the blue led and red led will flashes alternately.
Step3:
We have 2 kinds of AudioB plus module. The basic AudioB plus(based on CSR8635) and APTX AudioB plus(based on CSRA64215). The settings for these 2 modules are different.
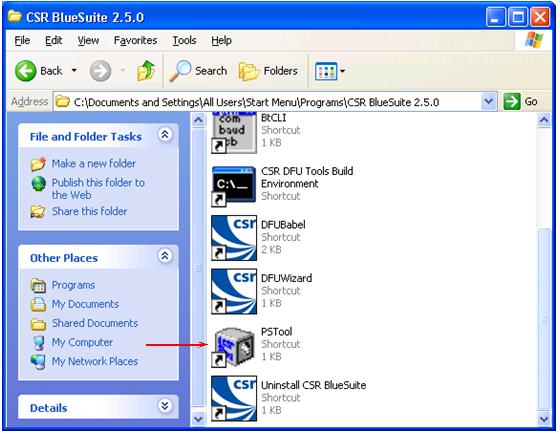
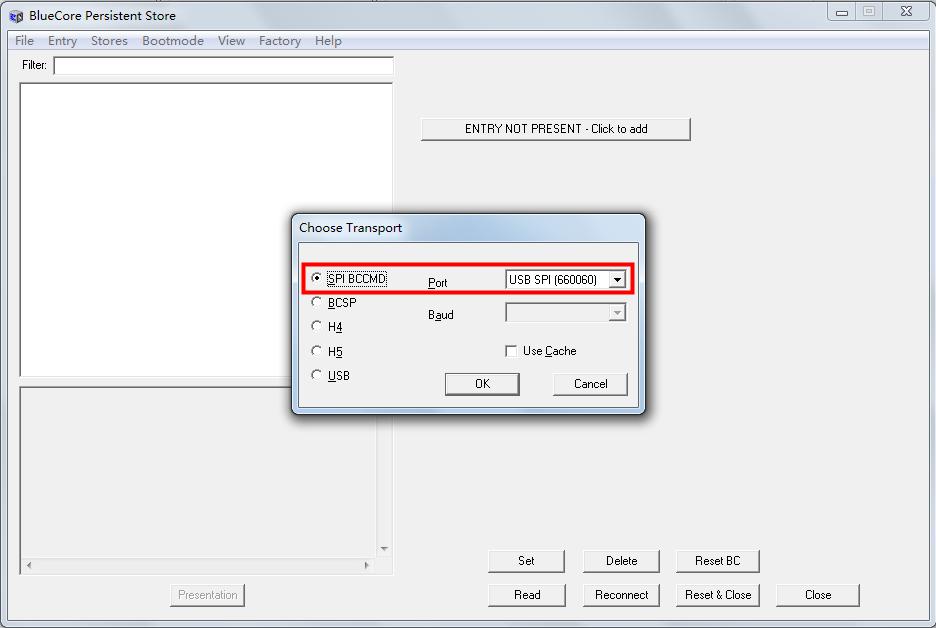
Make sure the connection is fine, then open PSTool in BlueSuite 2.5.0. Choose "SPI BCCMD", and if the connection is fine, the CSR USB-SPI device will show in “Port”, then click "OK".
For basic AudioB plus(CSR8635)
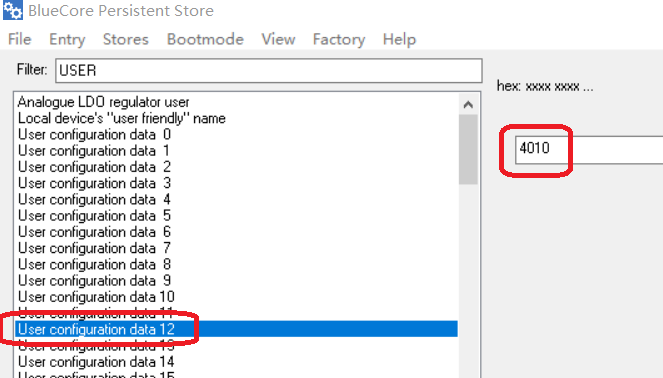
Input “user” in "Filter", then choose the option named “User configuration data 12”, the text box on the right will show the current parameters(default numbers is “4210”), Change these this numbers to “4010” then click “Set” to complete the change.
For APTX AudioB plus(CSR64215)
Input “user” in "Filter", then choose the option named “User configuration data 0”, the text box on the right will show the current parameters(default numbers is “4218 xxxx xxxx ....”), Change the first 4 bit numbers from 4218 to “4018” then click “Set” to complete the change.

